

No.4 Commando landed in two waves from HMS Princess Astrid and the SS Maid of Orleans and touched down on Queen Red Beach at La Breche, a mile to the west of Ouistreham. The original plan for the British landings had been for the 2nd East Yorks and the 1st South Lancs to take the beach and form a beachhead, through which No.4 Commando were to pass and take the coastal gun batteries at Riva Bella in Ouistreham.
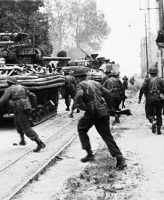
The county regiments landed at 0750 hrs and found intense opposition from the strongpoint on the beach. They were still pinned down by heavy machine gun and mortar fire when No.4 Commando’s first wave of landing-craft went in thirty minutes later.
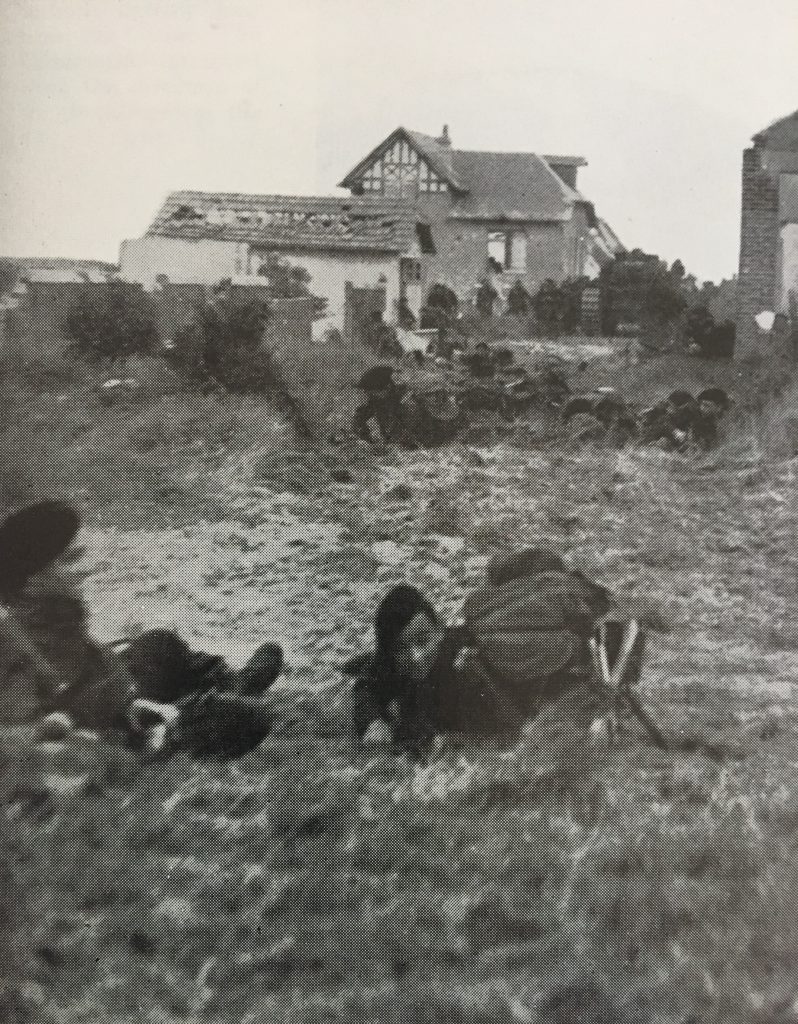
Mortar bombs were falling in and around the craft as the Commando landed and they took about forty casualties, including the Commanding Officer, who was wounded in the leg. Rapidly forming up under concentrated fire, the commandos fought their way off the beach taking out several enemy positions in the process.
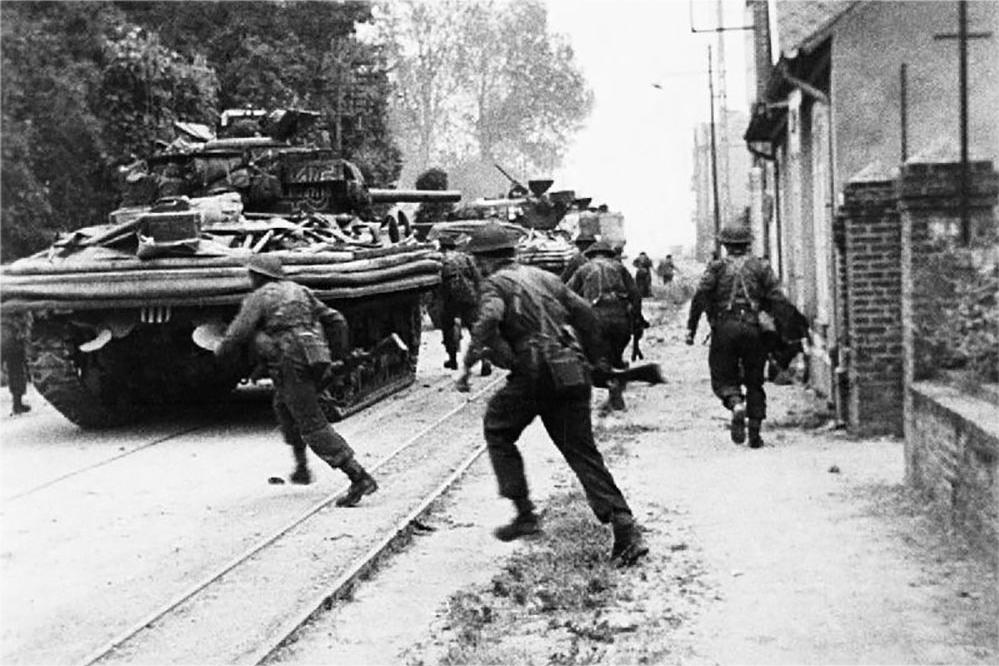
‘C’ Troop successfully engaged about a dozen of the enemy in slit trenches and a few more in pillboxes, before reaching the designated assembly-area. There they waited for the remainder of the Commando to position itself, and then moved out behind two attached French Troops from No.10 Commando. They moved along the Ouistreham road to a pre-determined check-point, being harassed by snipers and machine gunners in houses, as they went.
From the check-point, ‘C’ Troop again took the lead and established a route to the gun battery. Invaluable assistance was given to the leading Troop by a French Gendarme member of the résistance movement, who helped the commandos to bypass other enemy strongpoints and reach their objective without unnecessary delay.
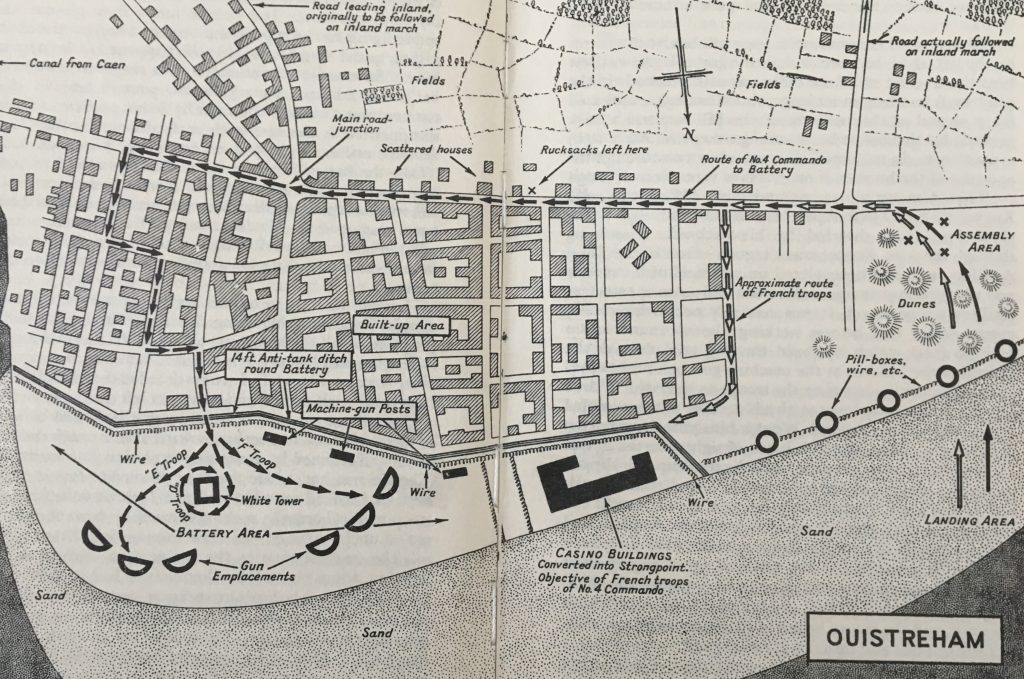
Great support was also given by four Centaur tanks which gave cover from snipers. Approaching the battery from the rear they came across a 14ft anti-tank ditch. Under heavy fire a search was made and two suitable bridges found, where a machine gun post and mortar position were silenced by PIAT fire.
‘A’ and ‘C’ Troop then gave covering fire to enable ‘D’, ‘E’ and ‘F’ Troops to move into the target area, although continued sniping and mortar fire inflicted further casualties.
As the two French Troops over-ran the Casino area on the west of the battery, mortar fire was brought to bear on the Flak Tower on the east of the enemy’s position, and then the assault went in.
Heavy fire was poured on the enemy, who put up stiff resistance from their strong fortifications and cunningly camouflaged block houses. Their concrete emplacements had withstood the earlier pounding from the sea and air exceedingly well, and although outnumbered, they were in excellent defensive positions. However, they were no match for the commandos, fierce fighting ensued and heavy casualties were inflicted on the Germans who surrendered after their position had become untenable.
For more blogs by Ian McHarg click here
For books by Ian McHarg click here
The latest Butcher and Bolt novel is available now in Paperback & Kindle Edition.
Buy The Raid here

Sources: No.4 Commando War Diary
Images: ©M McDougall